
Monday, 7 November 2011
Thanks and Bye !
I hope you have enjoyed the progress I have taken throughout this semester which has been documented in this blog. Thankyou !
Due Day
I completed the boards last night and emailed them to Yoakim so that he was able to print them today. I thought it was important to separate the boards into the designated sections- Scenario, Object and Behaviour. Yoakim looked over the boards after I had finished them and added the track detail section. This is what was produced:


The following is Yoakims detail render showing how the motors intend to move around the track.

The finalised design specification report can be found on Bec's blog: http://idesignbc.blogspot.com/
Final Submission
After the presentation we contacted each other via email to work out exactly how we were going to complete the final deliverables.
Deliverables Include:
- Presentation Boards
- Design Specification Report
- Individual Blogs
- CD including each deliverable.
Deliverables Include:
- Presentation Boards
- Design Specification Report
- Individual Blogs
- CD including each deliverable.
I agreed to put the boards together as I had done the presentation. Bec was to do the des. spec. report and Yoakim was to work on the behaviour aspect Yasu had brought up during the presentation feedback. We met on Monday so that we were able present our progress and update each other before everything was due the next day. I needed to tweek the boards and have them finished by the evening. Yoakim agreed to print them for me if I sent them through the night before (this meant I didn't have to travel up from the Gold Coast just to hand in the assessment, yay!) The majority of the design specification report had been completed although some areas still needed to be focused on. Yoakim was working on perfecting the track display.
Saturday, 29 October 2011
How?
The inner components were designed and evaluated by both Yoakim and myself. This is the inner components section taken from the powerpoint presentation.
Tank Display:


Tank Display:

Heart Rate Monitor Wristband:

Friday, 28 October 2011
The Presentation
Presentations: We presented very last, which I think added to my nerves on the day. I was fairly blown away with the work that the other groups had produced, there were some really awesome designs. I was happy with how I spoke and presented the scenario aspect during the presentation. Because we really tried to keep the overall presentation to 10 minutes (which proved unnecessary), I shortened the scenario section so that I was only talking about the most important details. I believe the scenario video covered most of the scenario fairly exactly, as it was very successful in conveying exactly what happened with the product. I could of expanded A LOT more about our specific persona during the presentation, however, not to worry, I have now included all of that information in my blog.
Feedback: Overall feedback from Tim and Marianella was positive, however, Yasu wanted to know a bit more about the behaviour of the produced design. As there was not a working model of the tank in the end, so he was confused as to exactly how the track assisted the fish by moving them around the tank. Yoakim agreed that this was something he would look further into, and communicate the intention further by presenting it on both the boards and in his blog.
Thoughts: If I could do the presentation again, I would. I would of liked to spend more time formatting the presentation. If I had the chance I would not try and reduce my speech in order to correctly meet the designated time. I was quite surprised they were not pulling groups up for going over time- however, there were many complications getting each of the role play videos working. If there was another chance- a working model would of been very beneficial. Overall I do like the design we have come up with, and I personally would love to get my hands on this product and test it out, competing with my friends.
Monday, 24 October 2011
The Day Before..
I spent the entire day today busy perfecting, adding and editing the presentation for tomorrow. NEVER under estimate how long a presentation takes to put together. Yoakim spent the day in the workshop further designing the LED display that was to go in the heart-rate monitor wristband. I wish I was able to sit in the behaviour lessons as I was unable to assist him with the programming. This appeared to be valuable knowledge that he did learn, however, it was a very time consuming process, and would of benefited by multiple people working on the programming. Here are some snapshots of the final presentation.

Scenario example: Defining some information about the chosen persona. I chose this image as they look to be the correct age, and appear happy.

Object example: For this in use shot of the wristband I took photos of my own wrist and edited them placing the front and back renders on the appropriate images. I was happy with this image!

Behaviour Example: This was a display diagram that Yoakim put together later in the afternoon when he began helping me with the presentation. In specific he covered his part in more detail (behviour), and added more information regarding the components into Bec's section (object).
The Final Scenario Video
After a long day of shooting at Yoakim's house, we had all of the scenes we needed to compose the video. As my video formatting skills are somewhat lacking, Yoakim agreed to put the video together. I could not be happier with the result.
Friday, 21 October 2011
Heart Rate Monitor
I was designing the heart-rate monitor wristband in CAD, and Yoakim was designing both the fish tank display and the fish, so that we could get them 3D printed. This was my process for designing the wristband.
Before I was able to model the wristband I needed to figure out what components where needed to go inside the model. Yoakim helped me figure out these components as he was focusing on the behaviour section. These components included 9 LED’s, the batteries, infrared sensor and the circuit board. Research into each component helped me determine the exact sizing of each component. After the components were modeled I had a clearer idea of thickness that the wristband needed to be in order to include the technology.
I started with the following rough sketches playing with different designs.

Experimenting with design and screen layout.

Experimenting with the battery connection.
I wanted to keep the design as streamline as possible and I didn’t want it to represent something as similar as a watch design. Because of this I included the batteries in the join of the band rather than behind the face of the LED’s. This allowed for a thin (bracelet like) wristband, which was only powered when the two batteries were touching.
These are the CAD renders of the model I produced.


Yoakim was pleased with the design I produced however he wanted to alter the LED display screen:


Yoakim separated the screen I designed and made 3 individual screens instead. This was so that it would fit more comfortably on the users wrist. There are now 4 LED's within each screen.


Exploded views displaying the inner components
Yoakim completed the CAD models for both the tank display and the fish. Here are the models combined in a render.

Yoakim forgot to include the lasers on the fish tank display model, so I added them in. You can clearly see here in this render how the two laser magnets are positioned on either side of the tank. This allows both sides to be moved simultaneously.

This render shows the laser in action. It has been activated to communicate to the owner of the yellow fish, where the red fish (user) aims to be tomorrow.
SO Close.
Last week I developed an outline as to what I think needed to be included in the final presentation. I did this slide by slide for each section Scenario, Object and Behaviour. This is the initial outline I came up with for our presentation:
Scenario:
- Persona - About
- Persona - Problems
- Research statement as proof of concept
- Our specific criteria
- Design brief statement
- Video
- Hero image of tank display
- In context with descriptive text
- Hero of heart rate monitor
- In context with text
- Inner components of tank display
- Inner components of heart rate monitor
Behaviour:
- Exploded view
- Infrared sensor detail
- How the product works
- Input and output diagram
- Relevance of design statement
- Product Specification
I was happy with the outline I came up with as it was a great help when it came to loading all of the necessary information into the layout.
I felt that our product needed to have a logo to brand it. So I did some rough sketches on what I thought would work well, and created the final logo design in Illustrator, playing with shape colour and font.

Wednesday, 19 October 2011
3D Printing
After Yoakim modelled up the fish in CAD and he had it printed in the workshop, I went and collected them, ready for painting.


Yoakim's fish design.

Picking up the fish, SO exciting!

We originally intended for the fish to be printed on the new plastic 3D printer- this is why we left a small hole in the middle. We designed it so that there was room to insert a weight into the middle- in order to ensure the fish was heavy enough, so that it wouldn't move when not being controlled by the motor. As there was a confusion between us and the workshop our fish were printed on the sand printer. This wasn't a big issue - as this made the fish heavy enough, without the need for a weight inside. (Although the hole came in useful when I got to glueing the halves together..)


I wanted the fish to look semi-realistic. This, like most of the other tasks, took longer then expected. I had hoped..

The workshop men advised me on which glue was ideal for the powder based 3D printing. In order for it to work you had to mix the two tubes together. What a MESS that created..

The painted, glued together fish with string in the middles so that they can hang. I am happy with Yoakim's CAD designing and my craft skills..
Tuesday, 18 October 2011
The last class for DNB601.
After the short briefing and re-capping of the presentation information, we were able to split into our groups and get into the work that still needed to be done before presentations the following week. We had our scenario script prepared for this class so we were able to head outside and do outdoor scenes to make the most of the provided time. I've included a couple behind the scene shots for your enjoyment..


The chips that were left behind.. (the final video will explain all)
Here is a blooper for some laughs.
Stay tuned for the final video !
After we had a couple of shots at each scene we came back to class to view our acting skills. The skills proved to be anything but amazing, but we had captured the scenes that we needed, success!
Wednesday, 12 October 2011
Week 11 Class
We began with discussions on our model making, and headed over to the workshop to talk with the workshop men about the possibilities of our design. We had decided our material for the fish tank was to be Perspex. We had originally designed the tank to have a curved front and curved edges, however Perspex is very difficult to bend out of shape. From this we decided that the model of our tank was to remain rectangular, where as the actual model we will propose in the presentation will be the curved design. This will be shown by a CAD image of the tank.
In this lesson Yoakim experimented with the LED’s and trying to connect them to the pulsing system. He succeeded with this as he got two of the LED’s connected to the pulsing. Unfortunately Bec and myself have had no experience with this type of prototyping and were unable to provide much assistance. For the wristband we have a piece of silicon, which we plan to combine with the LED’s for our model. Having translucent silicon allows for the LED’s to shine through for the pulsing display.
Advantage of having pulsing LED’s? It provides extra motivation for the user- it allows them to visually see there current heart rate through the pulsing lights. Viewing this action whilst exercising encourages the user to push on.
Workshop !
Bec and myself headed to the workshop today to make our fish tank. Yoakim was busy modelling up the fish in CAD so that they could be 3D printed later in the week. Making the fish tank proved to be more difficult then intended as we hadn’t used the laser cutter before. After drawing our pieces up in CorelDraw we were able to process the cutting of the Perspex with the assistance of the workshop men.

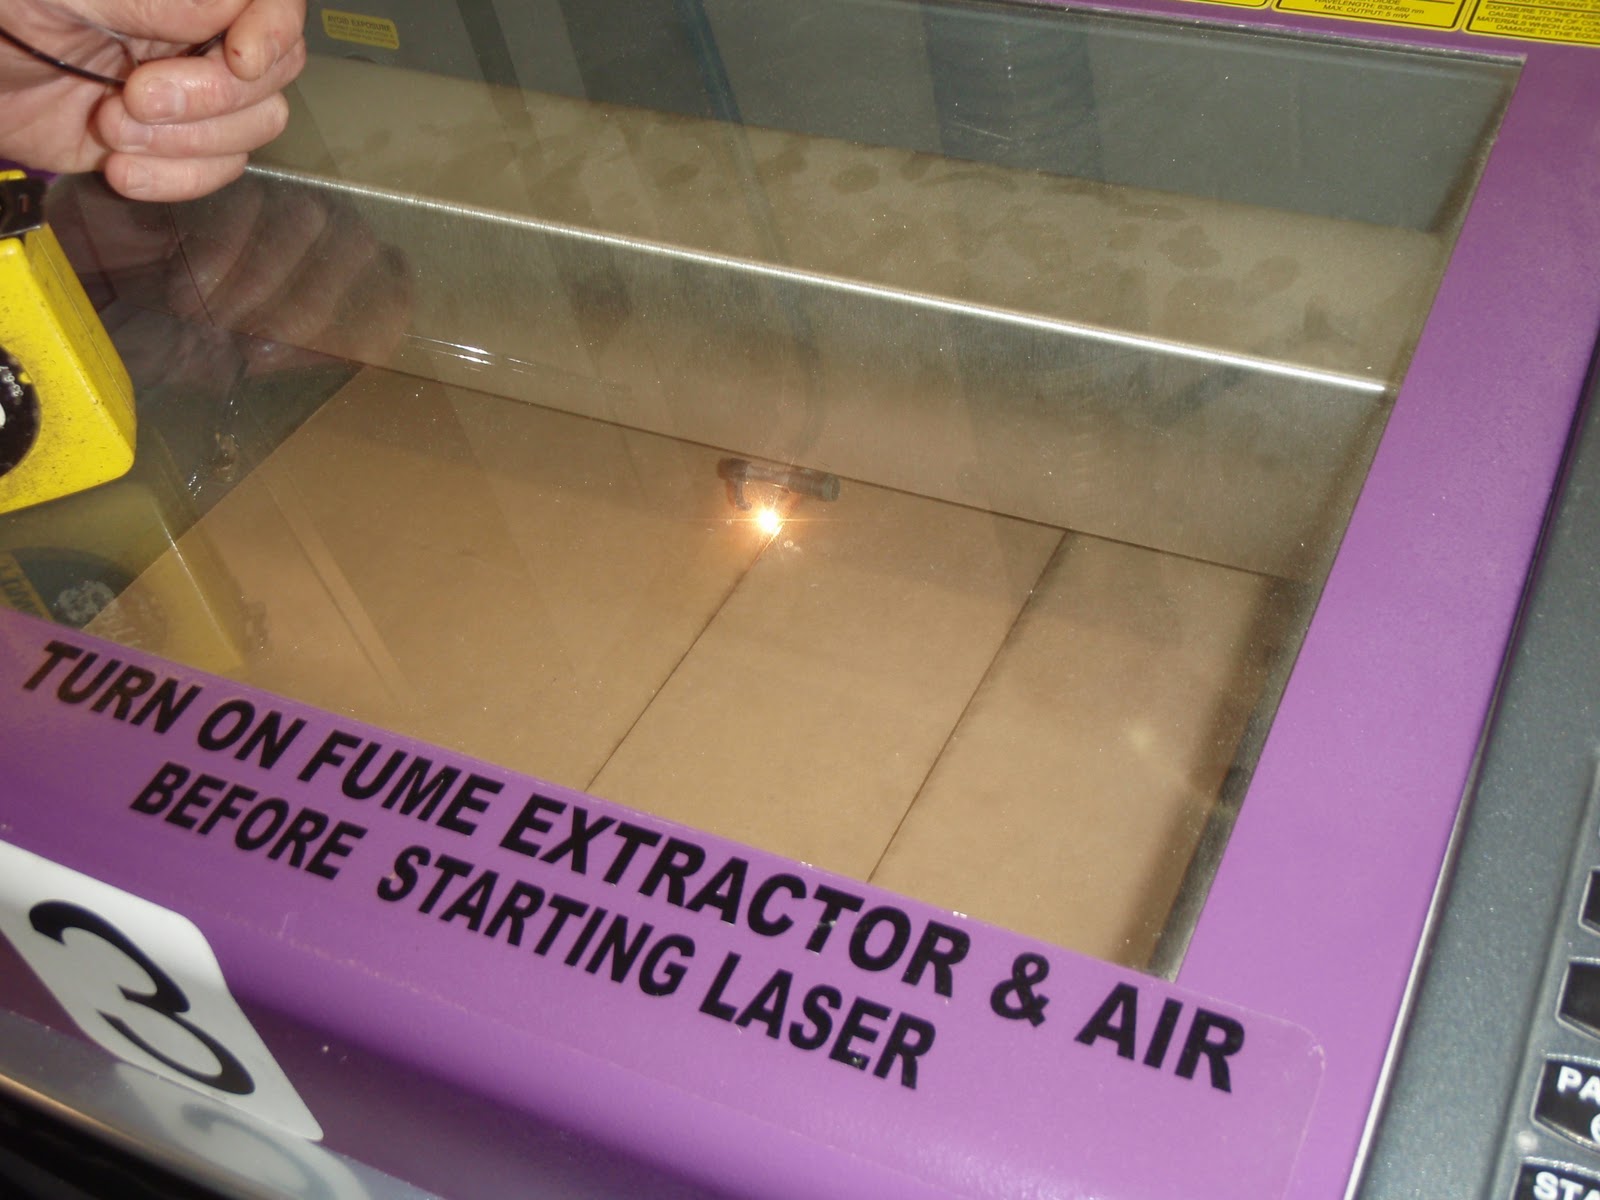
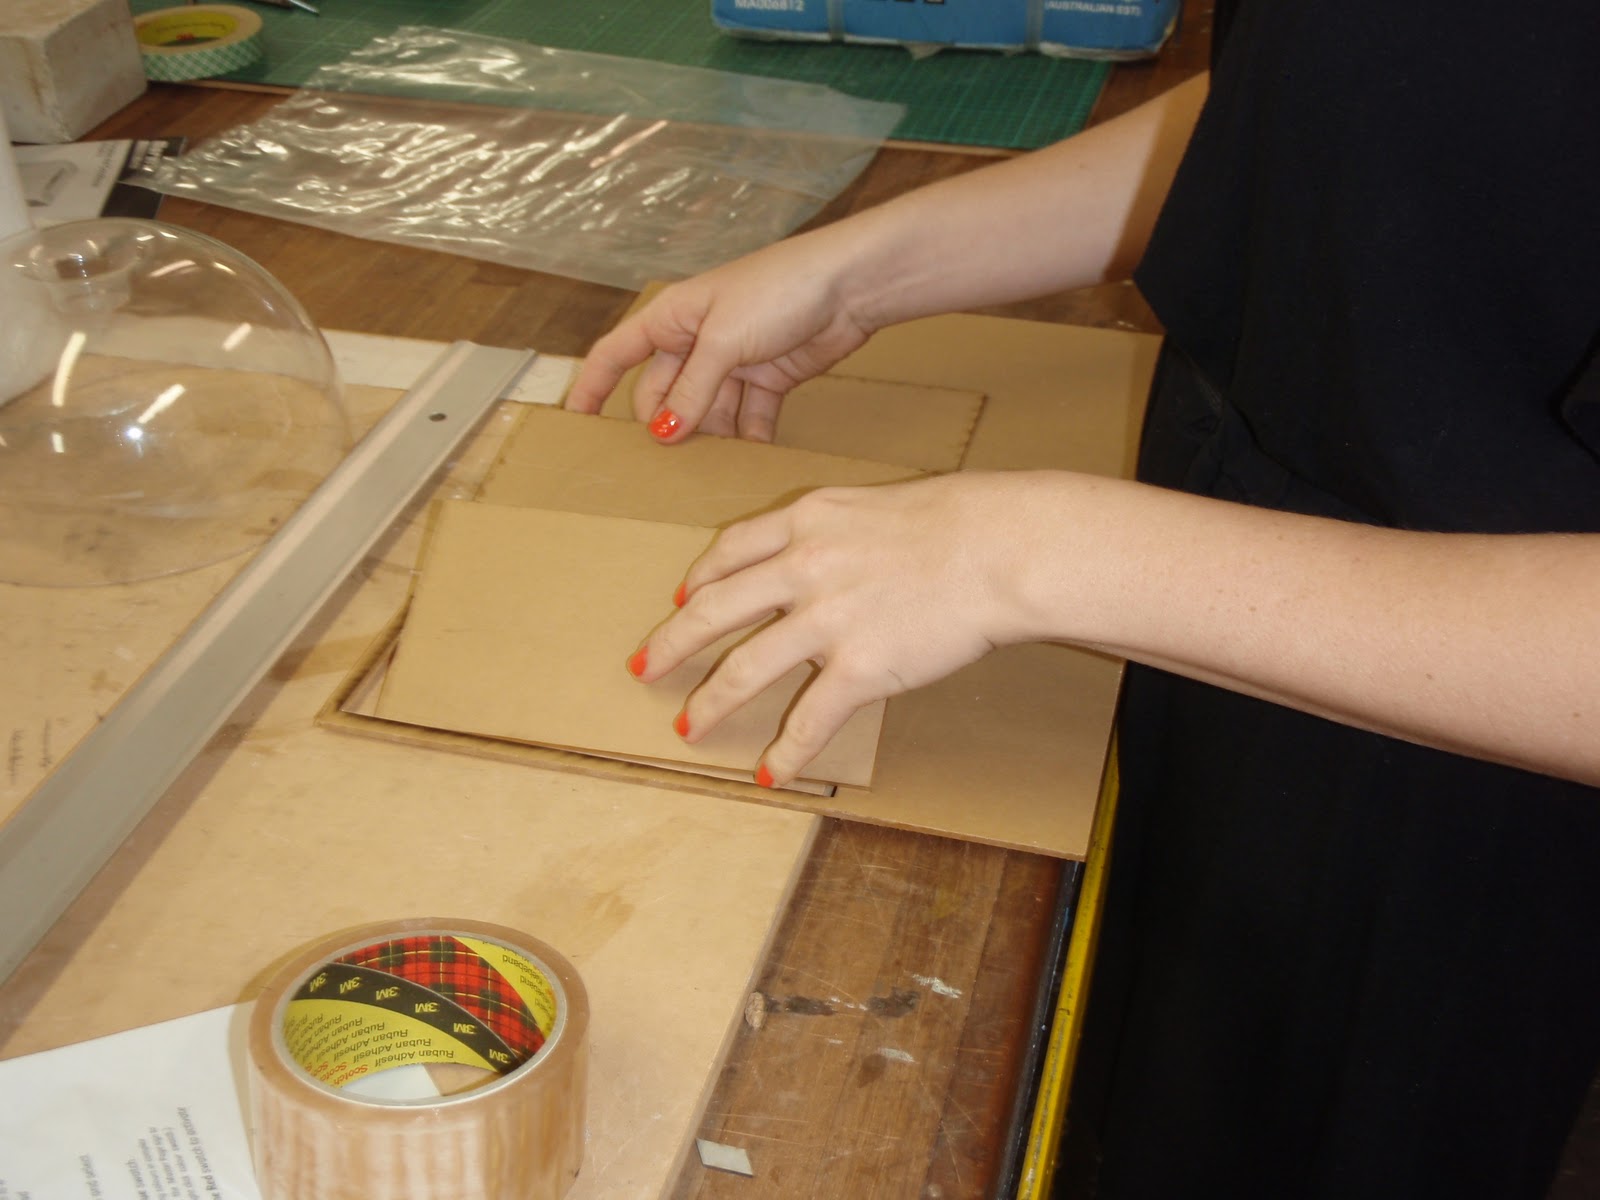
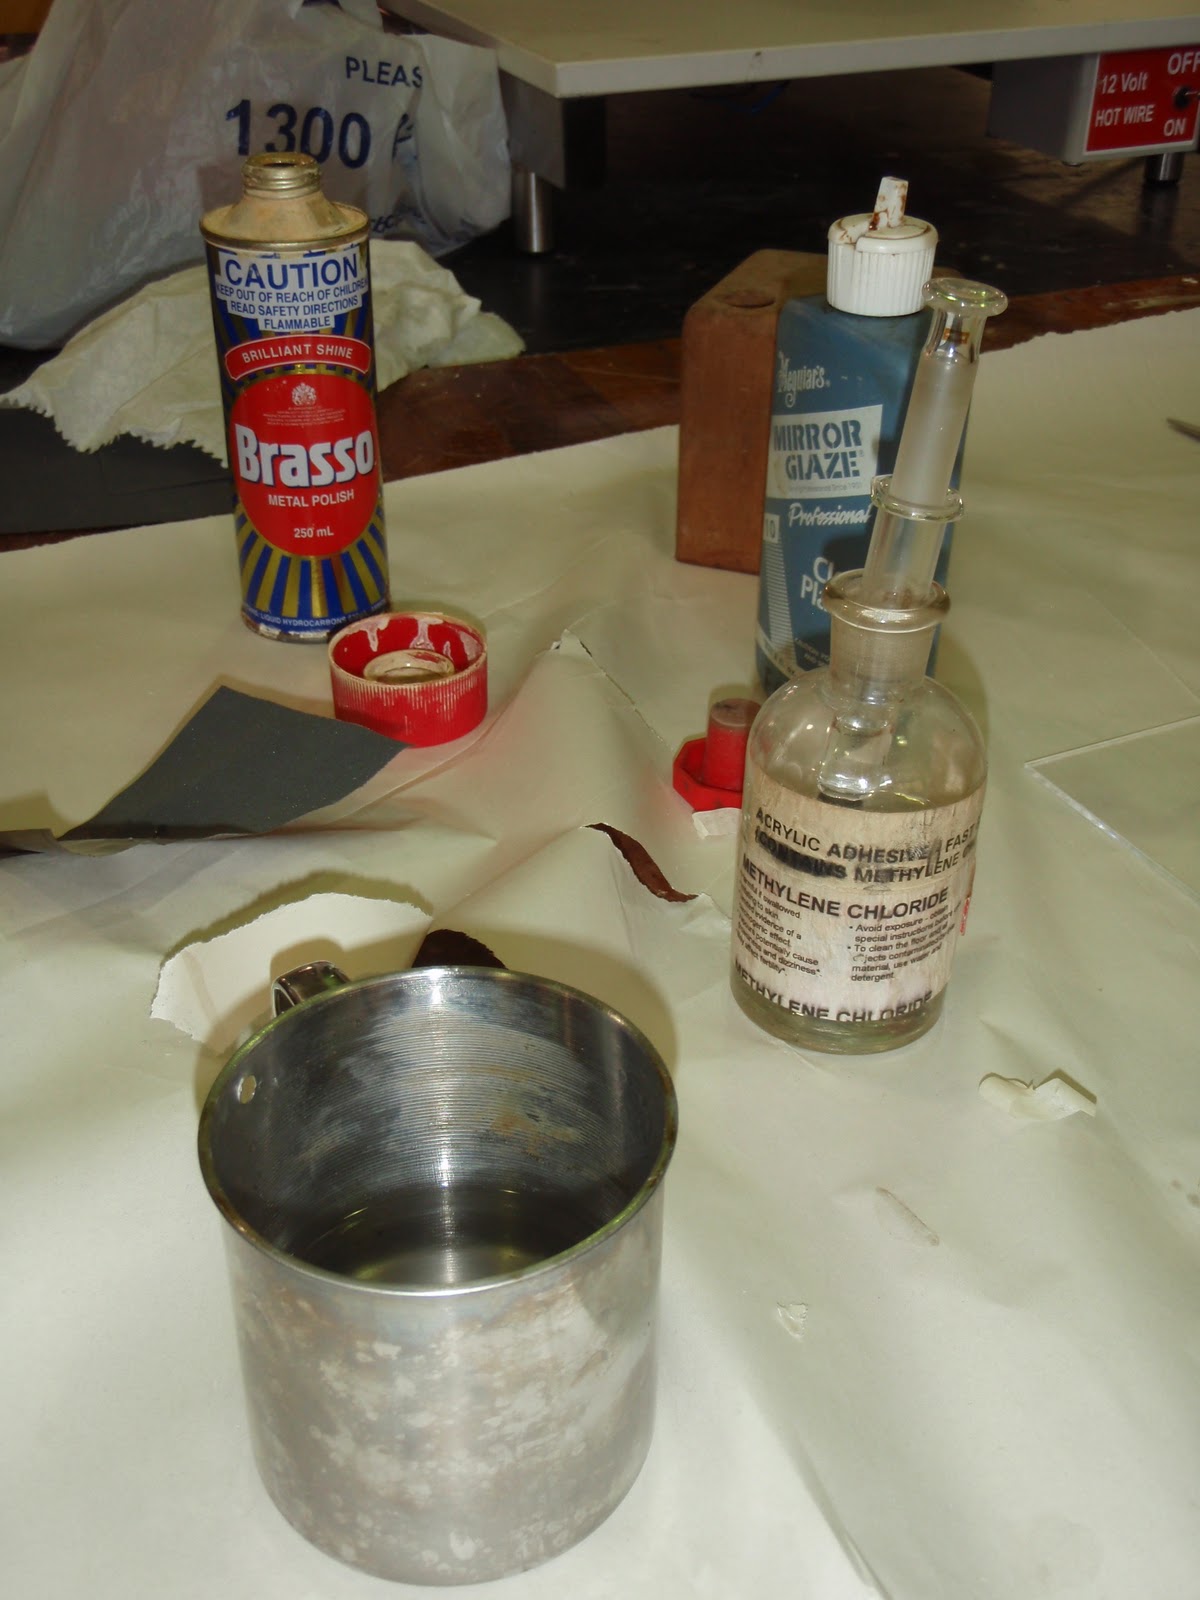
After cutting the pieces we starting mocking up how they fitted together. Bec had to leave so the workshop men helped me with finding the right glue and equipment. Mentholated glue was used to join the pieces together. I used a syringe to use the glue which had a massive poison label on the front.. eek!


I left the lid unattached in order to put the fish and other pieces in. All in all, it was a fun day at the workshop!
Tuesday, 11 October 2011
Marianella had a discussion last week with Yoakim about our fish tank design. She proposed the question of why we are having water in it if there are no live fish? This got us thinking about changing the design of the fish tank. We came up with the idea to have our tank wall-mounted and to eliminate water from the design. Having it wall mounted increases the elegance of the design. The design will also have a curved front and curved edges to reinforce the elegance of the design. We will have the design as thin as possible so it can look sleek and appealing on the wall. The thickness of our real model depends on the thickness of the motor that will be secured on the top of the tank (either underneath the lid or sitting on top). If needed the motor may be able to sit next to the tank, however, it would be more appropriate on top so it can be directly above the fish in order to raise and lower them.
Tank design inspiration:


LOVE these designs especially the interconnecting one. However these are not all relative/possible for the design of our tank for this project.. They were sure fun to look at though!
Tank design progress development sketches:


The final sketch is the design that we went for, it keeps it simple however it is elegant and pleasant at the same time. This appeals to me/ the persona.
Subscribe to:
Comments (Atom)